Short answer: install a Pentair filter cartridge only after matching the element code, dimensions, end cap, seals, flow direction, housing, and water duty. Isolate and depressurize, sanitize wetted parts, inspect the O-ring, seat the cartridge without bypass, restore flow gradually, flush to the datasheet endpoint, and record leakage and clean differential pressure.
Updated 30 July 2026: the compatibility gate, sanitation, flushing, repressurization, changeout triggers, and handover evidence were clarified.
Pentair Pentek cartridges serve homes, restaurants, hotels, foodservice, drinking-water facilities, RO pretreatment, and industrial processes. Correct installation prevents external leakage and internal bypass, but it does not extend contaminant-reduction performance beyond the model claim. Select Pentair Pentek cartridges from water quality, target, flow, micron rating, pressure drop, materials, dimensions, and housing.
| Gate before opening the housing | Evidence checked | Do not proceed when |
|---|---|---|
| Element identity | Cartridge code, label, datasheet, size, end cap, gasket/O-ring | Code or dimensions cannot be confirmed |
| Housing | Model, pressure/temperature limit, ports, sump, cap, relief, bracket, wrench | Cracks, damaged threads, loose bracket, or unreadable nameplate |
| Water duty | Sediment, chlorine, taste/odor, RO pretreatment, or another target | Cartridge lacks the required function or claim |
| Operating condition | Normal/peak flow, static/dynamic pressure, clean pressure drop | Housing or cartridge limits will be exceeded |
| Hygiene | Procedure, flush water, disinfection, gloves, work area, disposal | Potable/food-contact sanitation cannot be maintained |
For a multi-cartridge housing or commercial flow, complete the cartridge-housing flow and pressure-drop sizing before installation.
1. Make sure the Housing and Cartridge Types Match
Each Pentair cartridge has a defined size and interface. Terms such as 10 inch, 20 inch, slim, or large diameter help form a shortlist but do not prove sealing compatibility. Confirm:
- code, length, diameter, end cap, gasket, and flow direction against the housing manual;
- nominal/absolute micron rating, media, and reduction function against the target;
- flow and pressure drop under the actual water condition; and
- compatibility of cartridge, seal, housing, lubricant, water, and sanitizer materials.
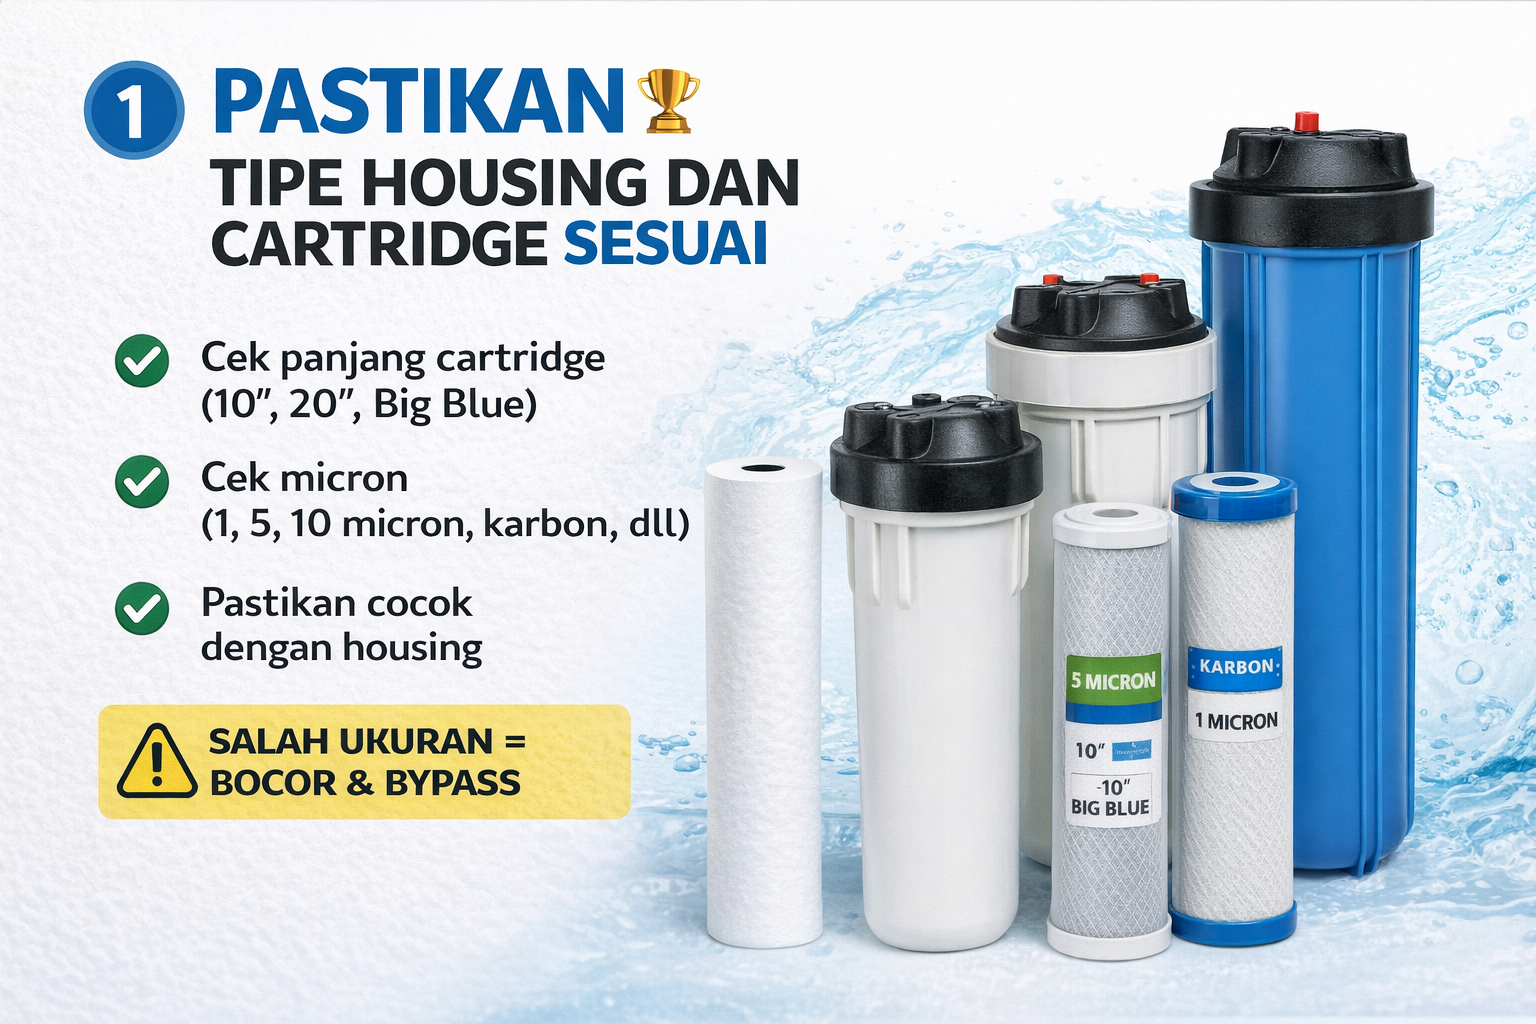
A cartridge that is too short, misses the locator, or uses the wrong seal can allow untreated flow around the element. Internal bypass may not be visible outside; include filtrate quality and initial pressure drop in the inspection.
2. Shut Off Water Flow and Relieve Pressure
Before opening the filter housing:
- stop the pump and prevent restart under the facility energy-isolation procedure;
- close inlet and outlet valves and isolate every other pressure source;
- open the designed relief/vent and drain; and
- verify zero pressure before touching the sump.
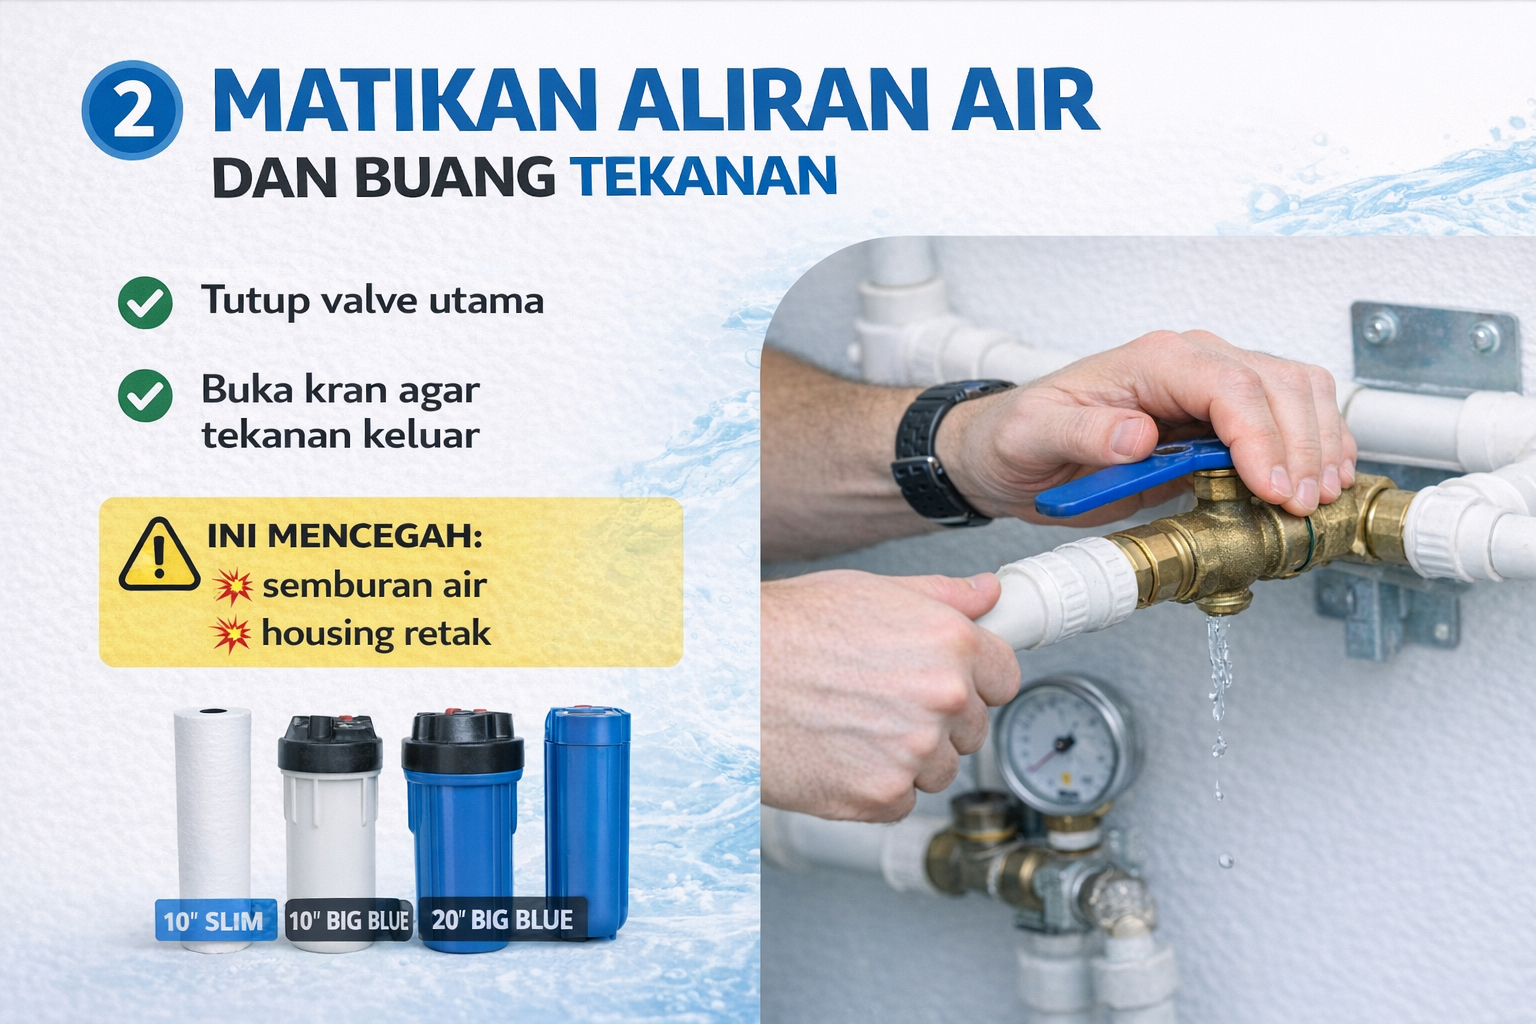
A housing stores energy while pressurized. Do not rely on valve-handle position or one gauge alone. If the housing remains difficult to open, stop and identify pressure or vacuum; do not add leverage.
3. Open the Housing with a Filter Wrench
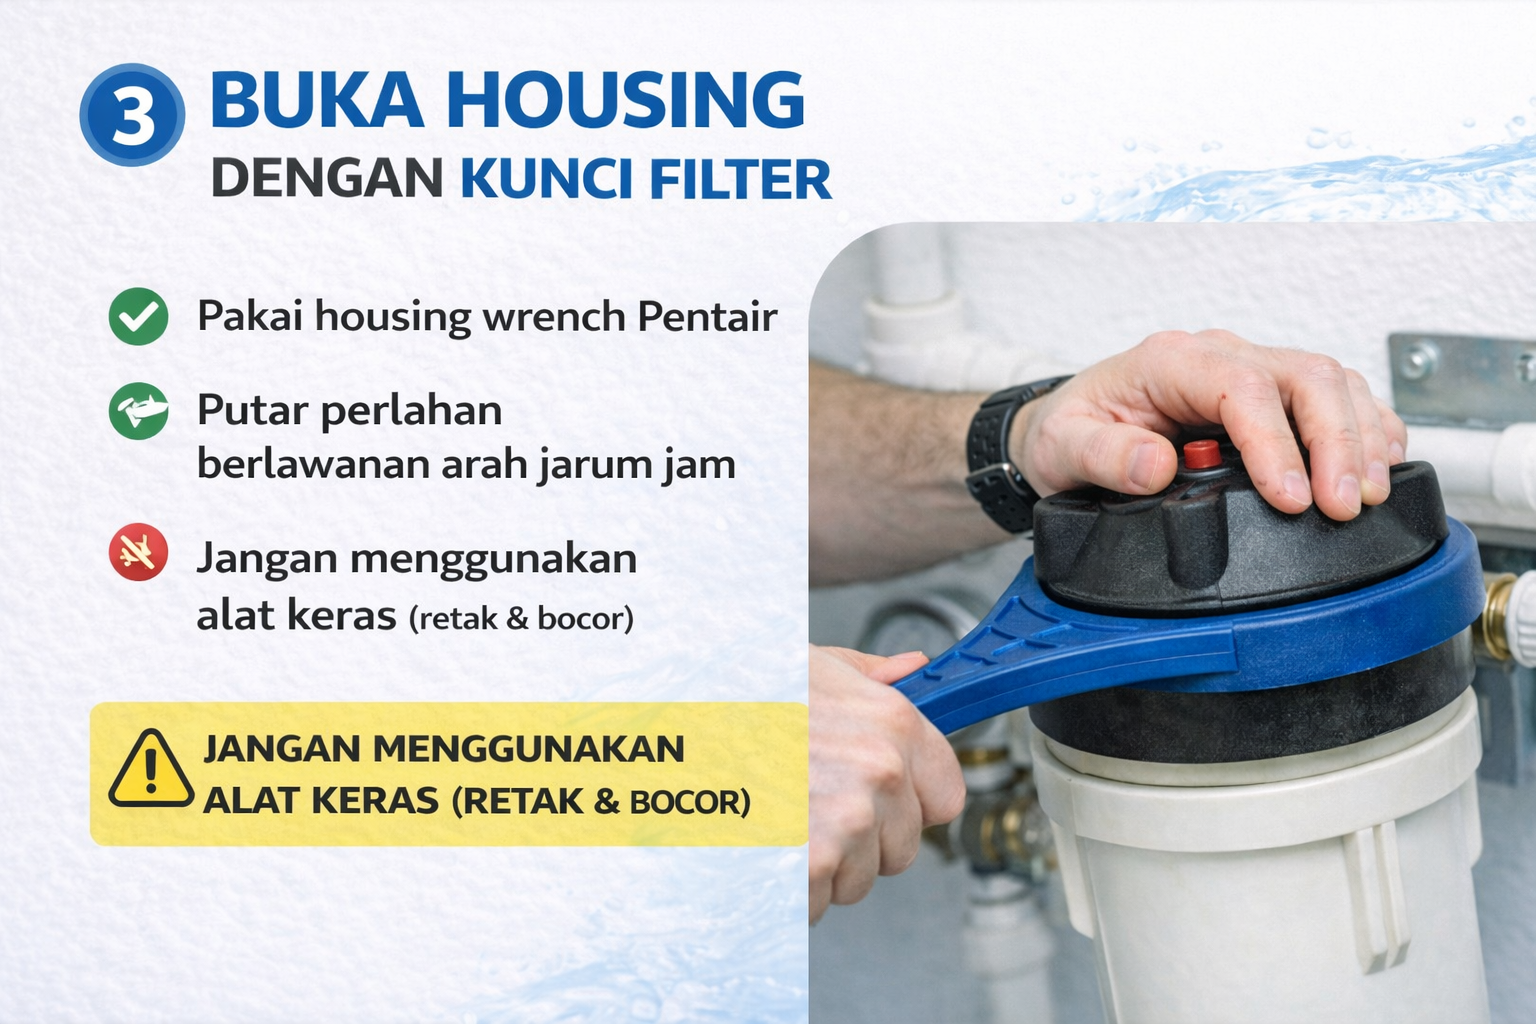
Use the wrench specified for the housing model as a service tool. Support the sump so piping and brackets do not take the twisting load. Do not strike, heat, use a pipe wrench, or modify the threads; a small crack can grow into a leak during repressurization.
4. Clean the Inside of the Housing
Before installing a new cartridge:
- dispose of the old cartridge for its contaminant and facility rules;
- clean the sump, cap, locator, and groove by the approved method;
- inspect cracks, crazing, discoloration, threads, ports, relief, and bracket; and
- remove the O-ring, clean its groove, and check cuts, flat spots, swelling, brittleness, or distortion.
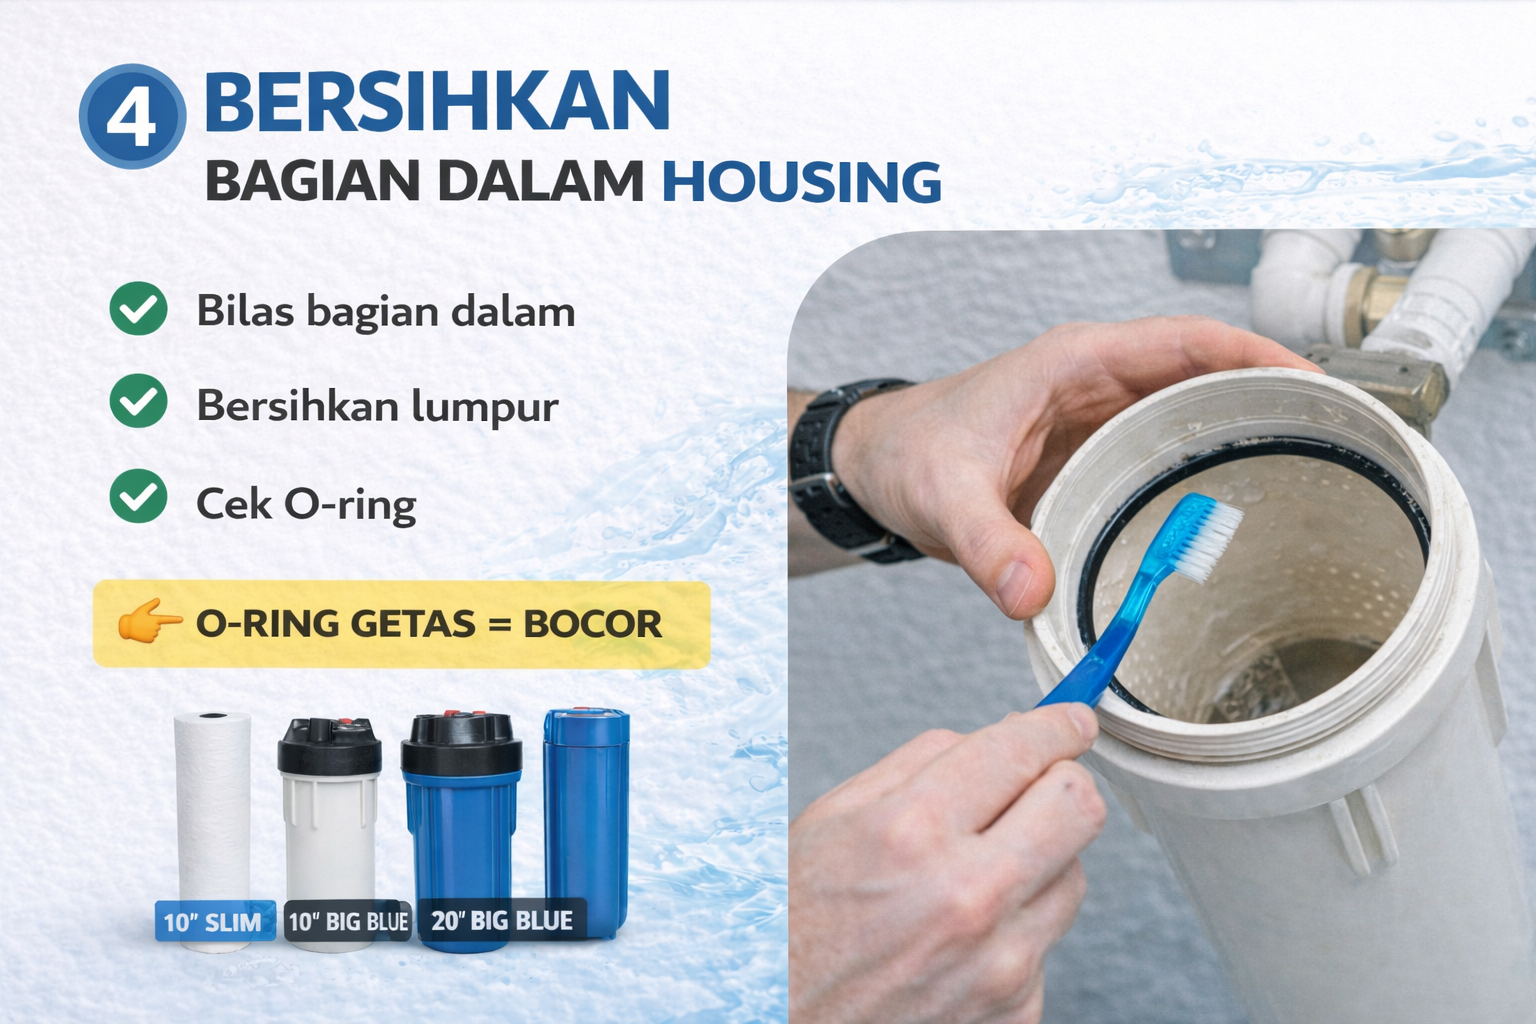
Use a replacement O-ring matched to the model and material. For drinking-water or foodservice duty, and after contamination, sanitize the housing and line under a validated procedure; a water rinse alone may not be sufficient.
5. Install the Cartridge in an Upright Position
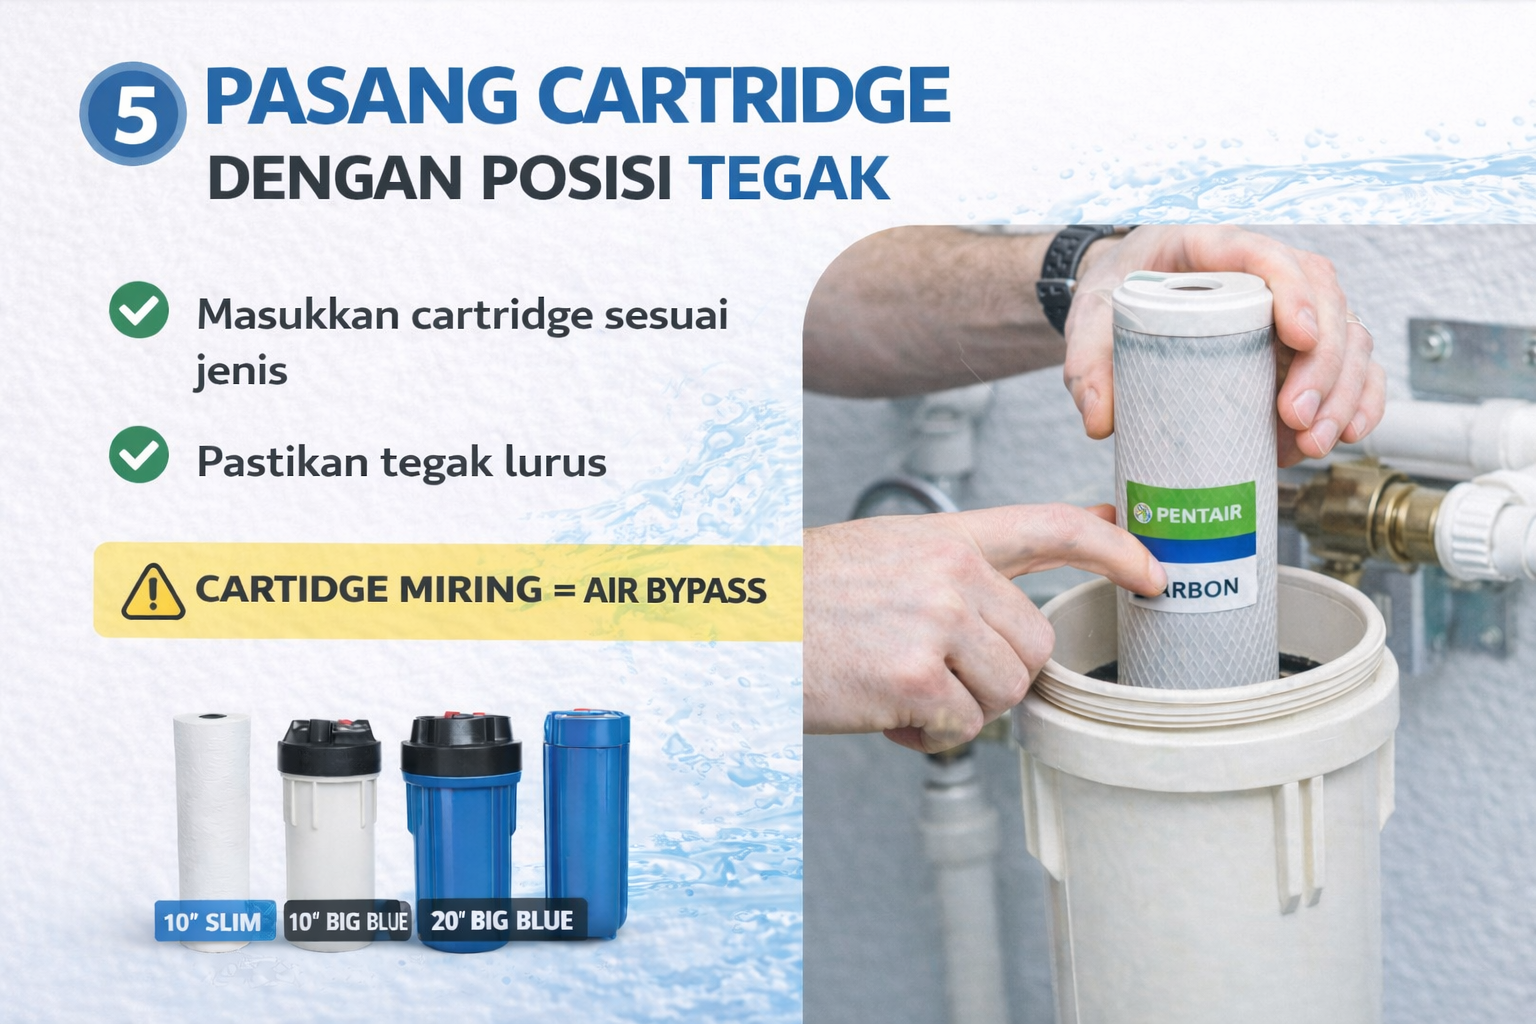
Insert the cartridge upright and straight without touching the media with dirty hands. Confirm that its end enters the locator or seal seat. Follow flow markings on directional elements. Do not improvise gaskets or stack elements not designed for the housing.
6. Lubricate the O-Ring with Food Grade Grease
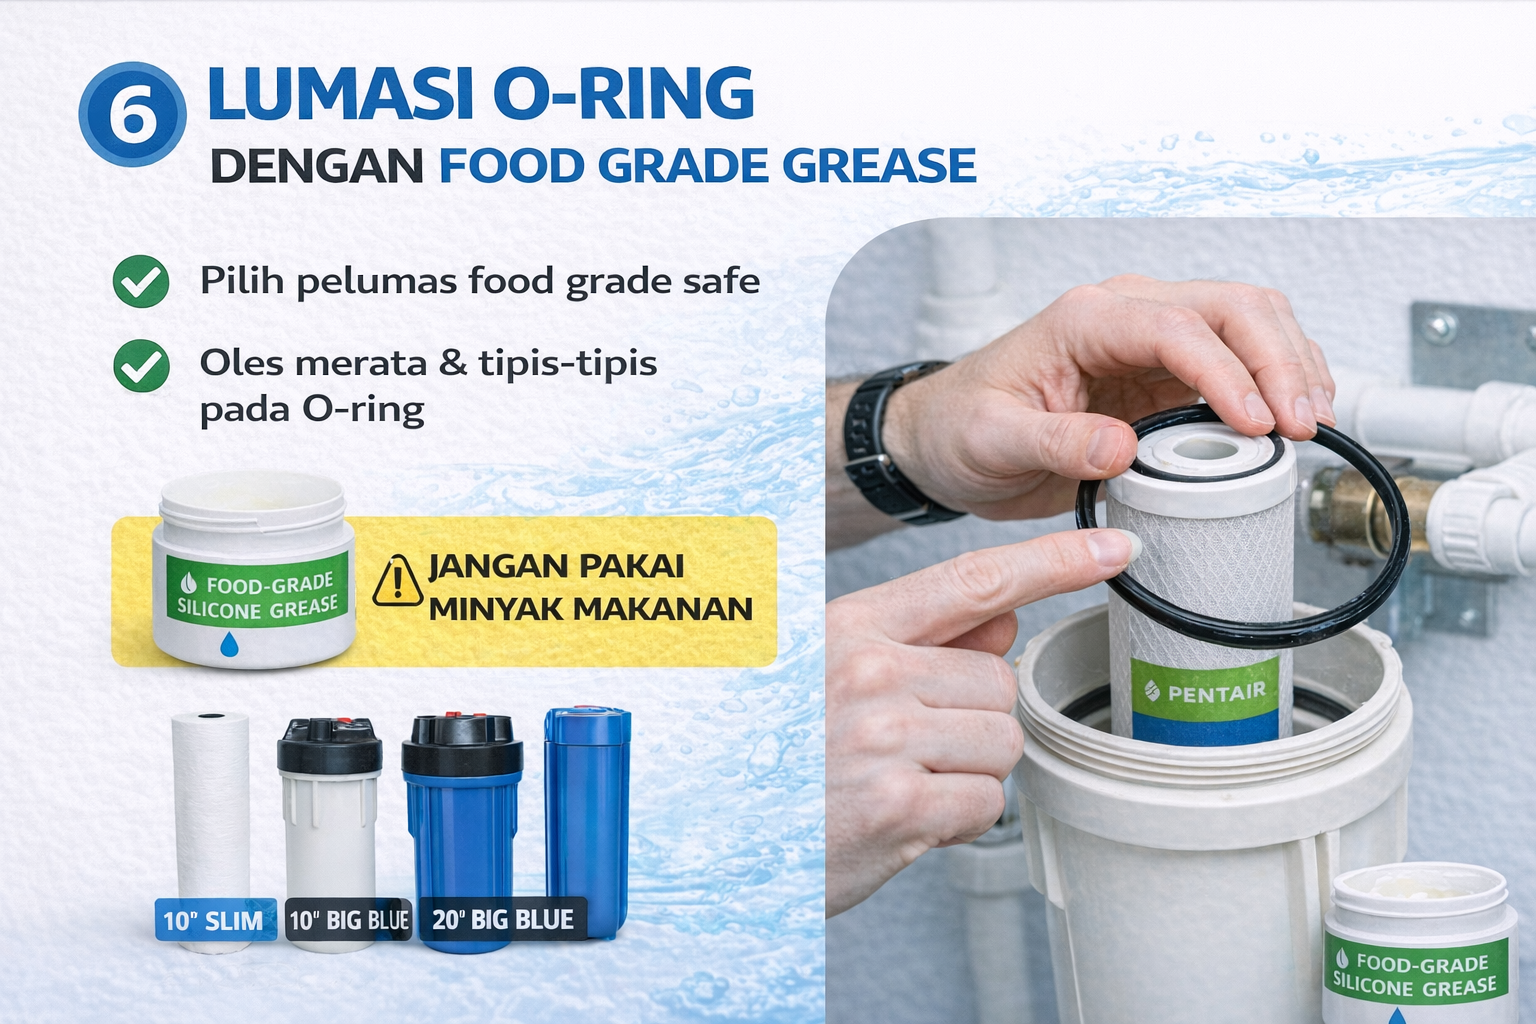
Use only a lubricant permitted by the Pentair manual and compatible with the O-ring material and final water use. “Food grade” alone does not prove material compatibility. Apply a thin, even film where permitted; lubricant is not sealant.
- seat the O-ring in a clean groove without twisting;
- remove sand, hair, tape, or debris from sealing faces; and
- do not use petroleum jelly, random grease, adhesive, or PTFE tape on the O-ring.
7. Tighten the housing sufficiently
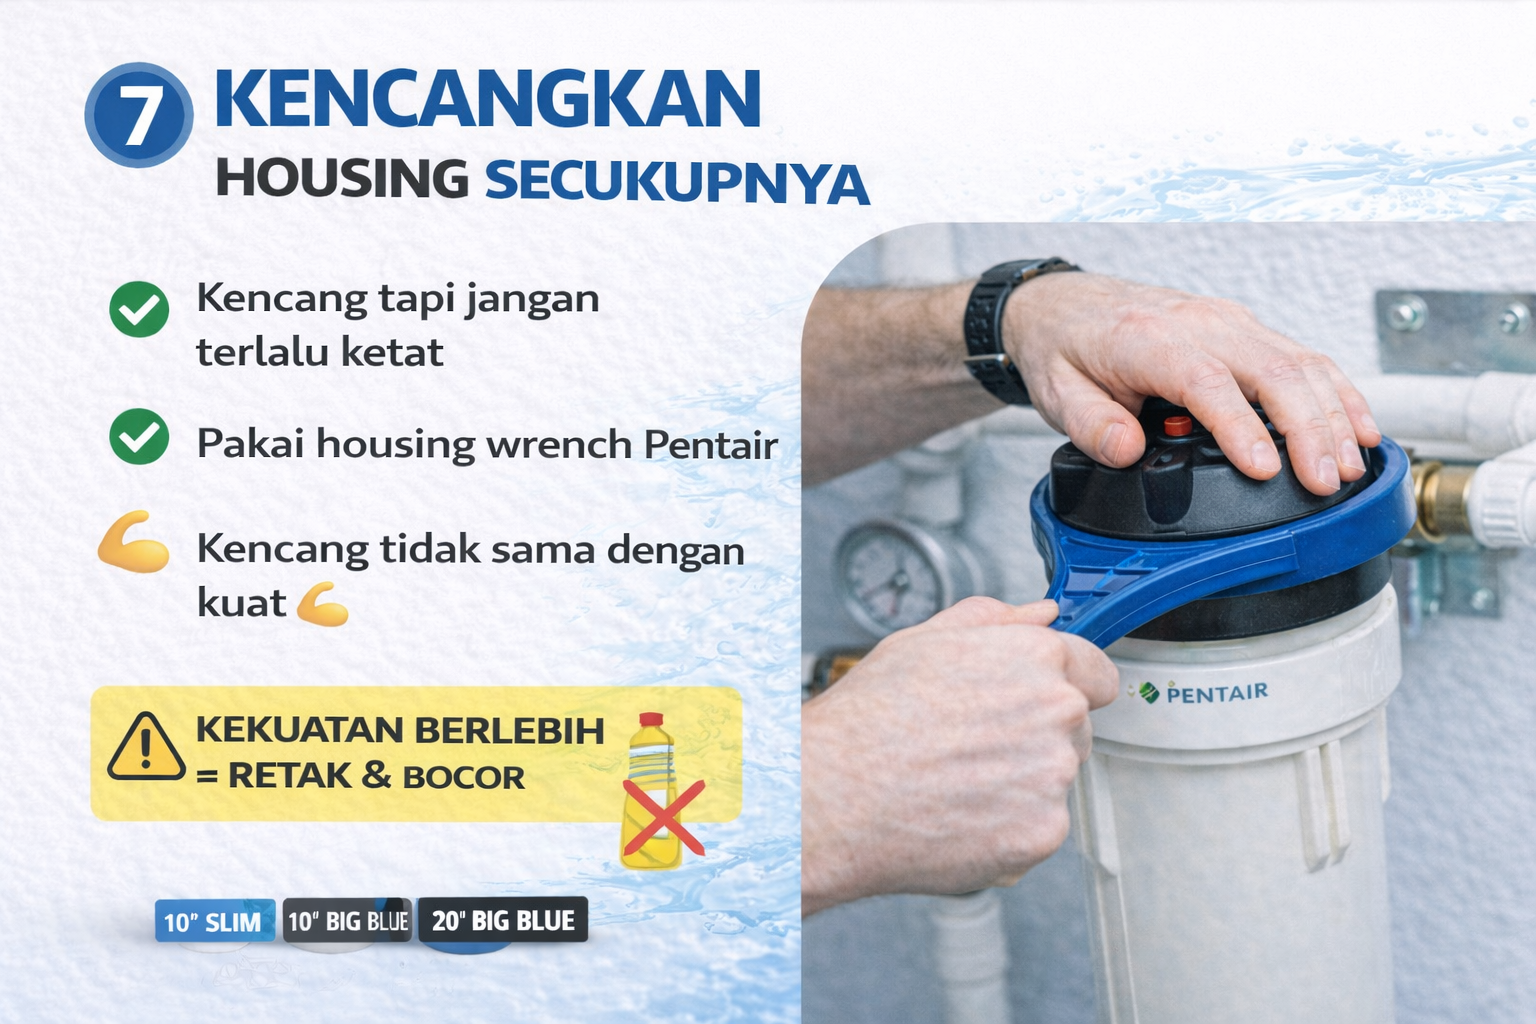
Engage the sump squarely to avoid cross-threading. Tighten by the model manual; do not invent a universal torque or assume that the wrench is always used for final tightening. Over-tightening can damage threads, cap, sump, and O-ring, while a misaligned joint can leak under pressure.
8. Turn on the Water Slowly
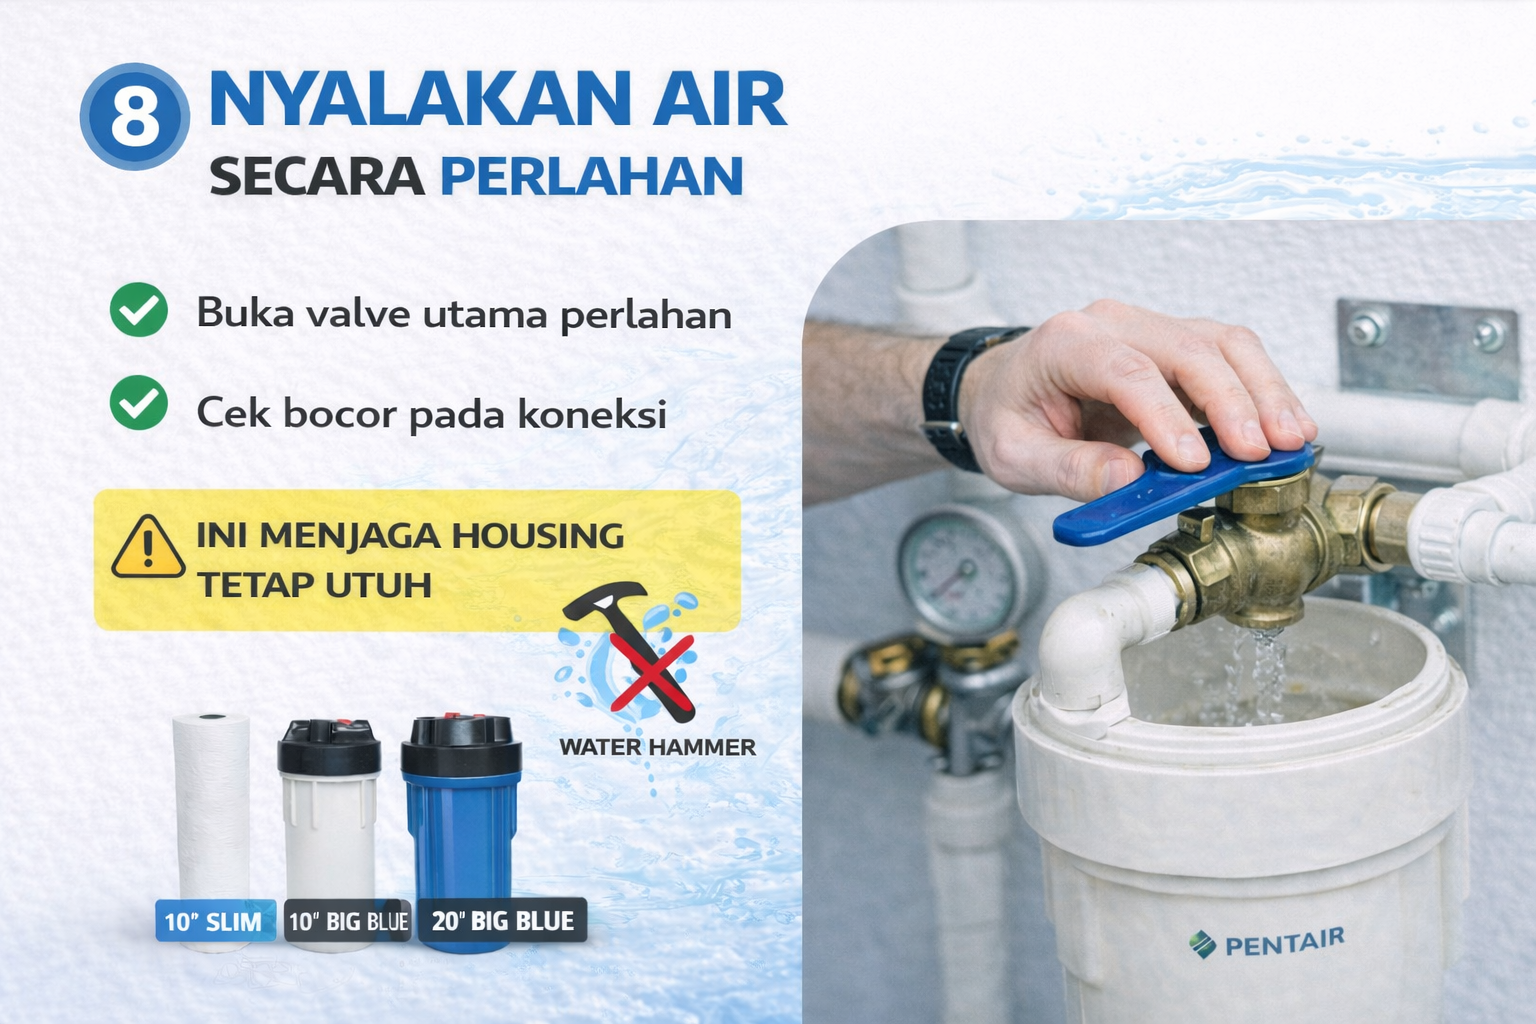
Close the drain, open a safe downstream path to release air, then crack the inlet valve slowly. Trapped air can destabilize flow and pressure. Observe:
- drips at connections, relief, cap-to-sump joint, and ports;
- abnormal sound, housing movement, or bracket movement;
- inlet/outlet pressure and clean differential pressure; and
- initial filtrate quality or evidence of bypass.
If any leak appears, isolate and depressurize before correction. Never tighten the housing while pressurized.
9. Perform Flushing Process
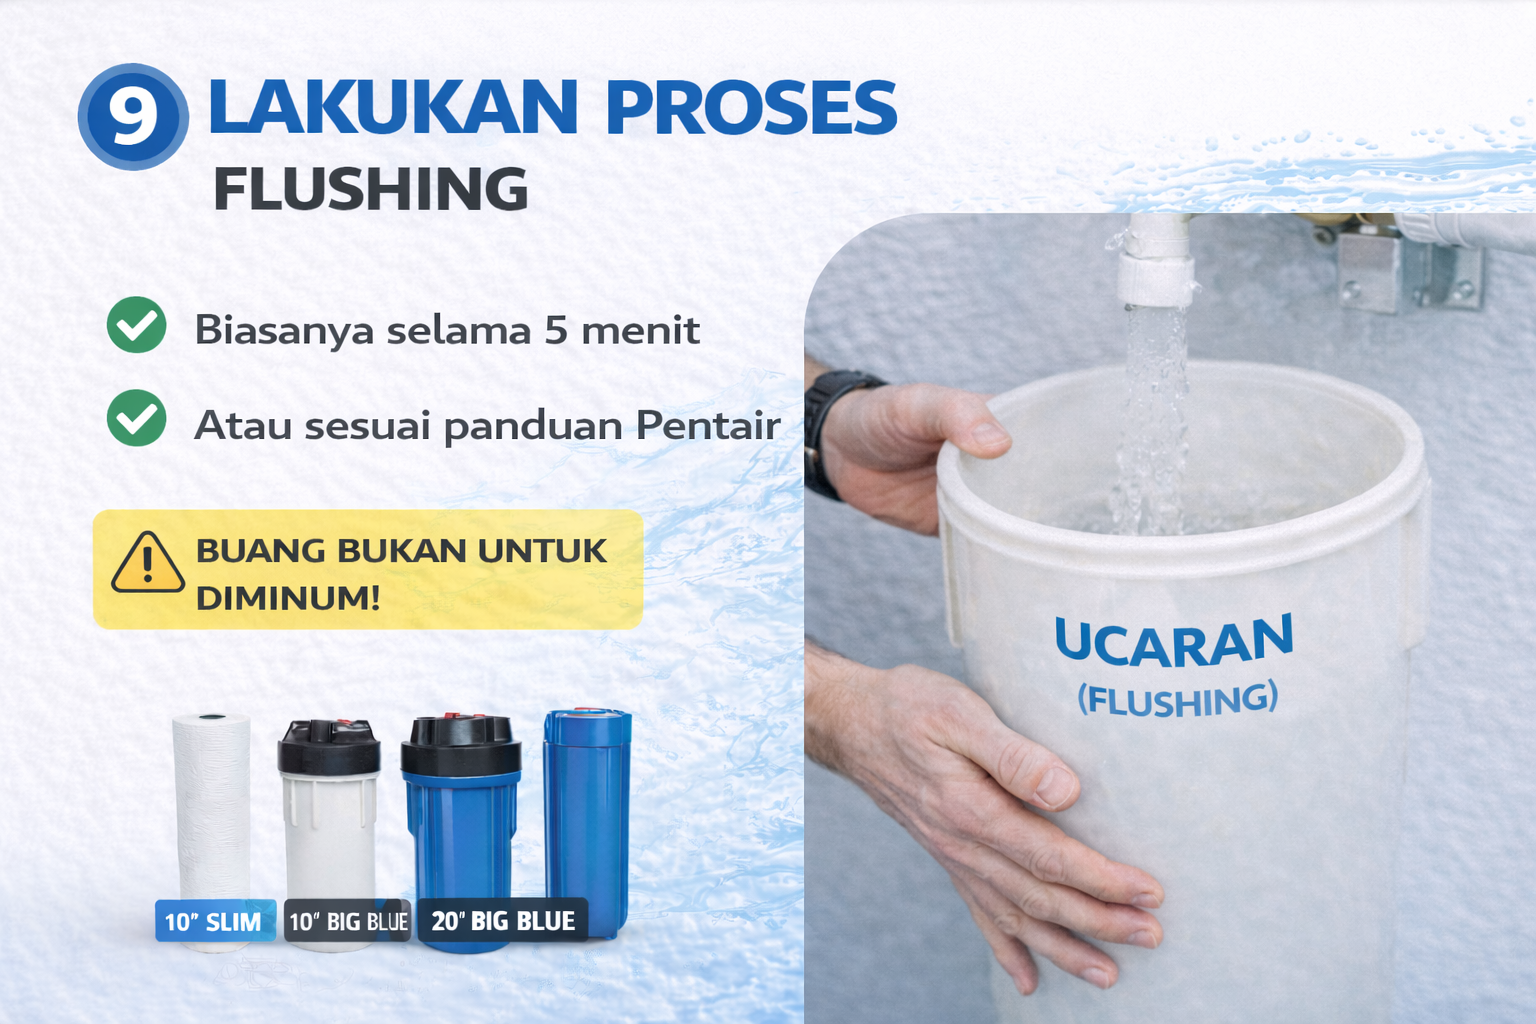
Flush by the cartridge datasheet, housing volume, approved flow, and final use—not one time for every model. Carbon cartridges may release fines in the initial water; other cartridges may have different conditioning requirements. Route initial water to an appropriate drain until the product and procedure endpoints are met.
Potable duty still requires documented sanitation, flushing, and water-quality evidence. Where independent verification is needed, use A3 Laboratories water-quality testing for the agreed parameters.
10. Record the Installation Date
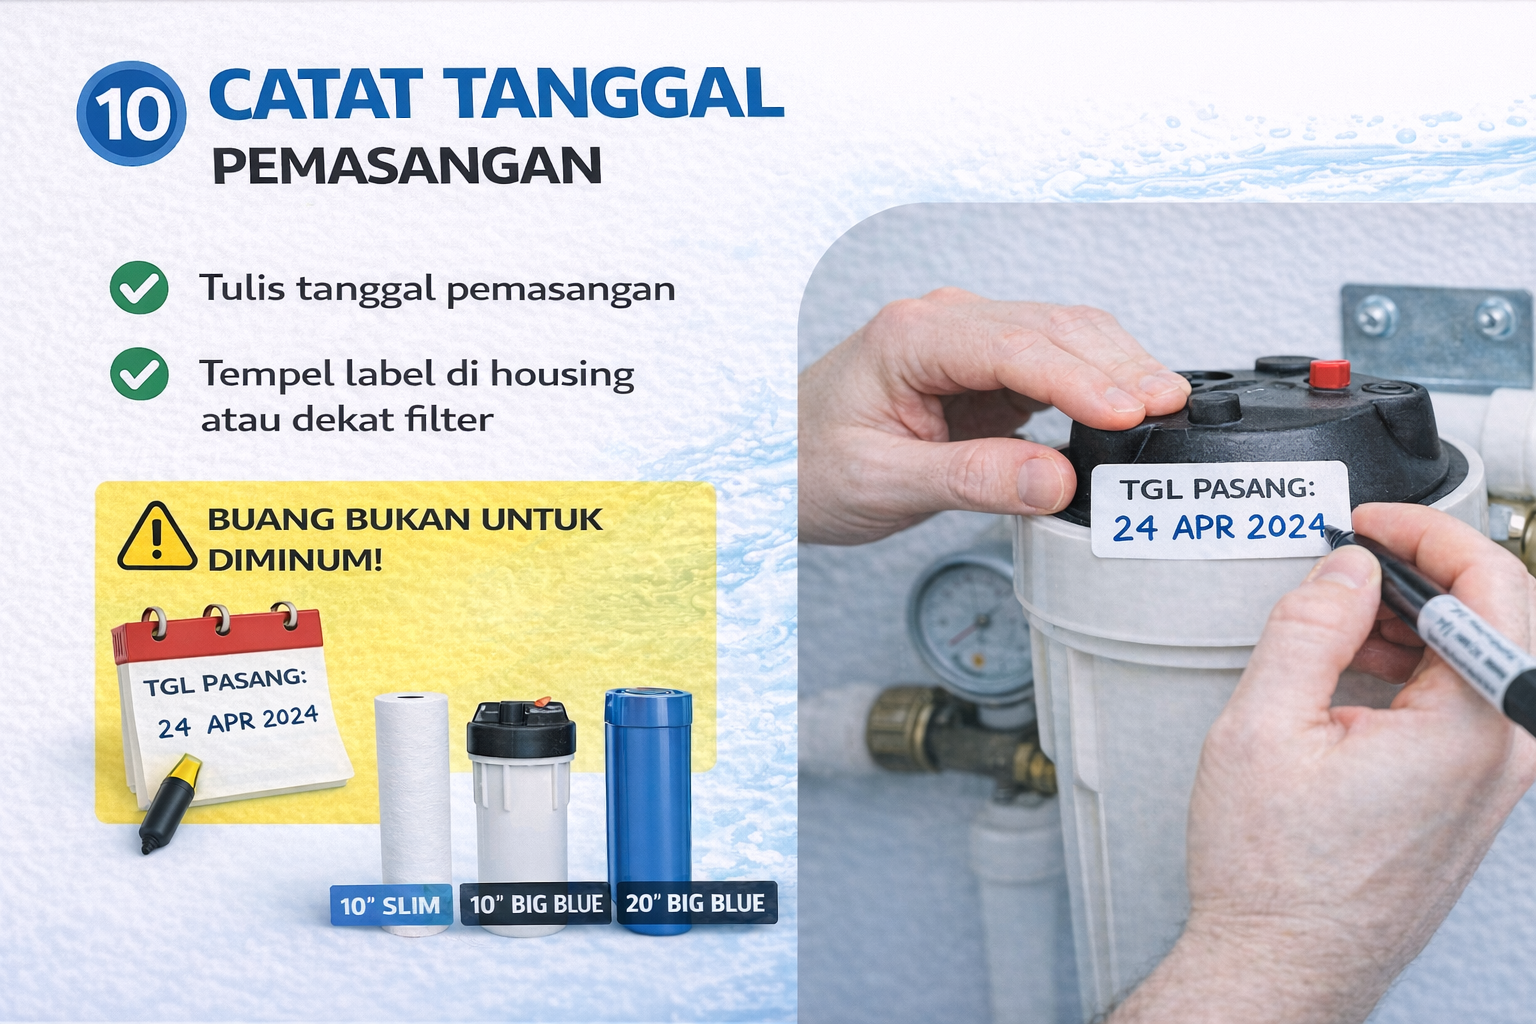
Record the date and time, cartridge code and batch, housing model, operator, flow, inlet/outlet pressure, clean differential pressure, water meter, flush result, and leak inspection. Changeout follows the product differential-pressure limit, reduced flow, reduction capacity, throughput, filtrate quality, or documented hygiene interval—whichever occurs first.
Do not wait for cartridge collapse or channeling. A pressure-drop trend distinguishes normal solids loading from failed pretreatment, wrong valve positions, or an unsuitable element.
Post-Installation Handover Checklist
| Check | Passing evidence |
|---|---|
| Identity | Cartridge and housing codes match the purchase order and datasheet |
| Installation | Cartridge seated, O-ring correct, cap/sump undamaged, bracket and piping supported |
| Repressurization | No leakage at planned static and dynamic pressure |
| Hydraulics | Flow, inlet/outlet pressure, and clean differential pressure recorded |
| Flushing | Datasheet/procedure endpoint reached and initial water discarded correctly |
| Quality | Filtrate meets the measured target; no reduction claim exceeds product documents |
| Operation | Changeout triggers, spare O-ring/cartridge, isolation procedure, and log are available |
Conclusion
Correct Pentair cartridge installation is proved by compatibility, a clean housing, intact O-ring, bypass-free seating, model-specific flushing, zero leakage, and a recorded clean differential pressure. Clear water alone is not proof that water is ready to drink.
For element selection, see the Pentair Pentek range or send the housing code, label photographs, water data, flow, pressure, and filtration target through the Watermart contact page.

.png)